
unocss配置
官网:https://unocss.nodejs.cn/guide/
交互式文档:https://unocss.nodejs.cn/interactive/
vscode插件:antfu.unocss
为什么选择unocss: unocss
安装
npm add -D unocss // 需要在在package.json中添加"type": "module"
npm add -D unocss@0.58.9 // 适合Vite 5+
安装插件(vite.config.ts):
import UnoCSS from 'unocss/vite'
import { defineConfig } from 'vite'

export default defineConfig({
  plugins: [
    UnoCSS(),
  ],
})
创建 uno.config.ts 文件:
0.58.*版本配置
import { defineConfig, presetUno } from 'unocss'

export default defineConfig({
  presets: [
    presetUno() // 添加 UnoCSS 的默认样式预设
  ]
})
最新版本,最新版本 presetUno移除,无需添加
import { defineConfig } from 'unocss'

export default defineConfig({
  // ...UnoCSS options
})
将 virtual:uno.css 添加到 main.ts中:
import 'virtual:uno.css'
常用语法
- 基础工具类
| UnoCSS 类名 | CSS 写法 |
|---|---|
text-red-500 |
.text-red-500 { color: #f34178; } |
font-bold |
.font-bold { font-weight: 700; } |
w-[50px] |
.w-\[50px\] {width: 50px;} |
flex |
.flex { display: flex; } |
justify-center |
.justify-center { justify-content: center; } |
truncate |
overflow-hidden text-ellipsis whitespace-nowrap |
- 响应式设计(以
**<font style="background-color:rgb(242,243,245);">md:</font>**断点为例)
| UnoCSS 类名 | 对应 CSS 写法 |
|---|---|
md:flex-row |
@media (min-width: 768px) { .md\\:flex-row { flex-direction: row; } } |
- 状态变体(以
**<font style="background-color:rgb(242,243,245);">hover:</font>**和**<font style="background-color:rgb(242,243,245);">focus:</font>**为例)
| UnoCSS 类名 | 对应 CSS 写法 |
|---|---|
hover:bg-blue-600 |
.hover\\:bg-blue-600:hover { background-color: #2563eb; } |
focus:ring-2 |
.focus\\:ring-2:focus { box-shadow: 0 0 0 2px rgba(59, 130, 246, 0.5); } |
优化
1、旧项目排查是否存在冲突类名
当按照安装步骤成功安装unocss后,之前项目可能会存在类名正好匹配到unocss语法的情况,当我们启动项目会启动一个unocss的服务
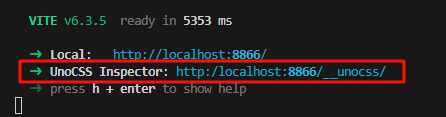
打开该地址可以看到
Overview:
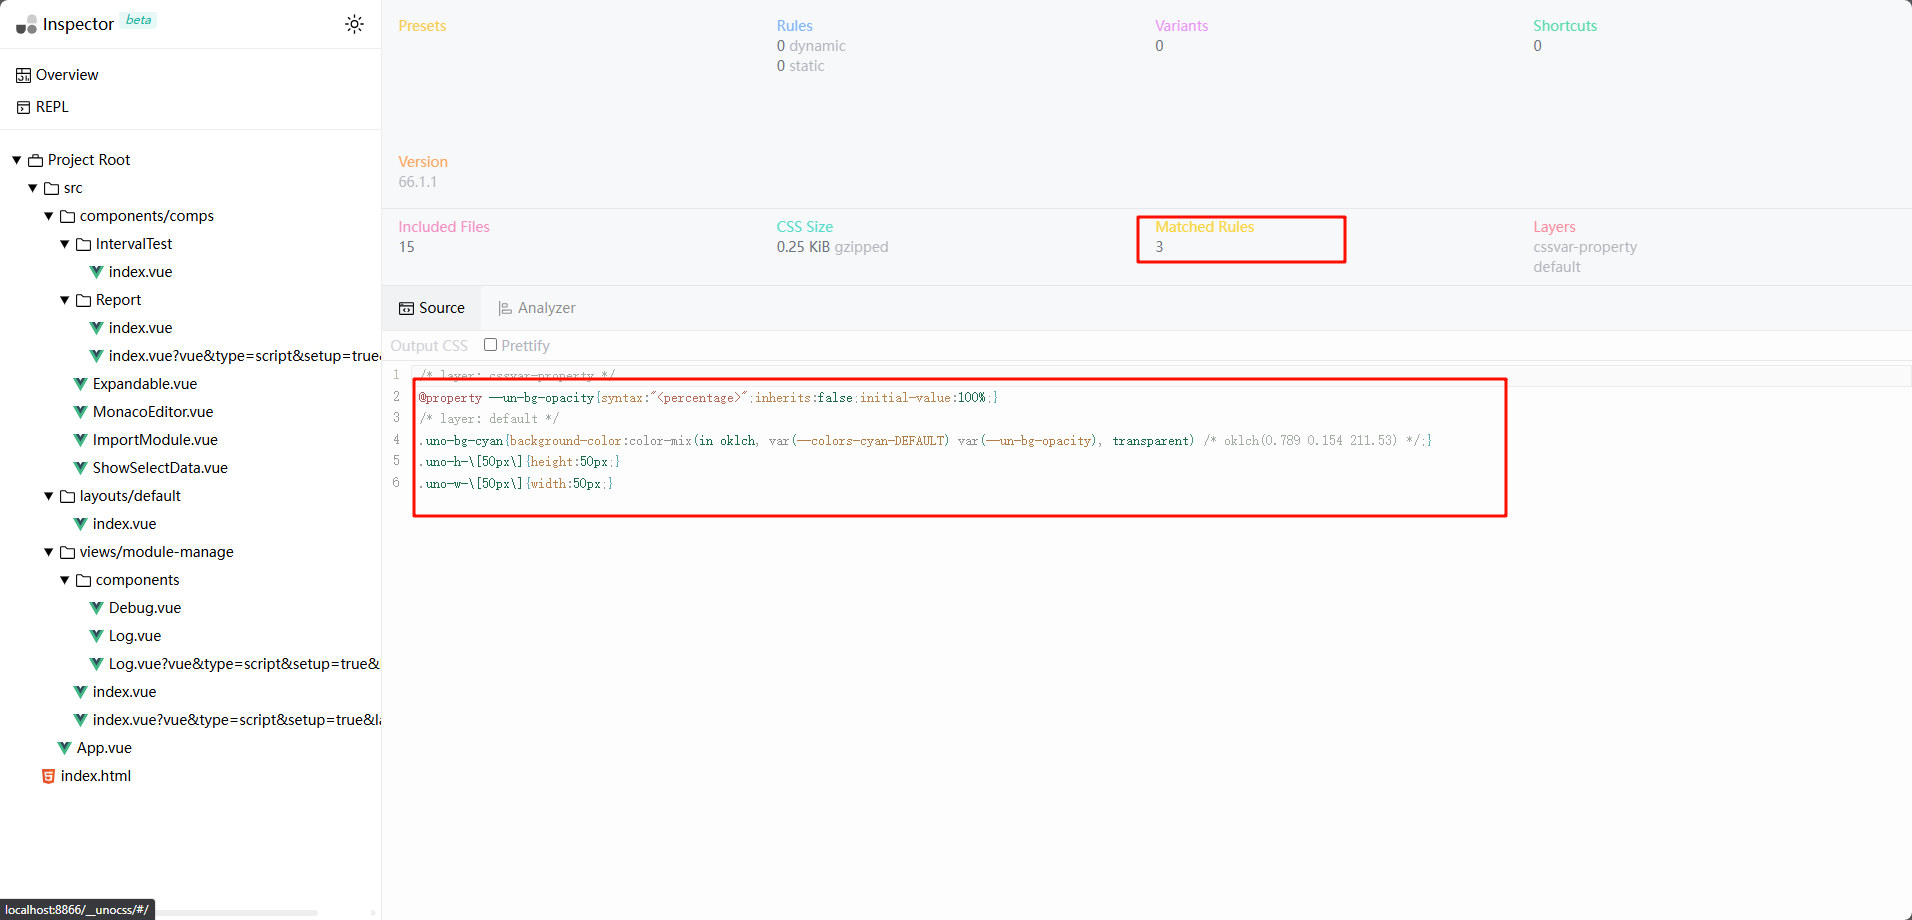
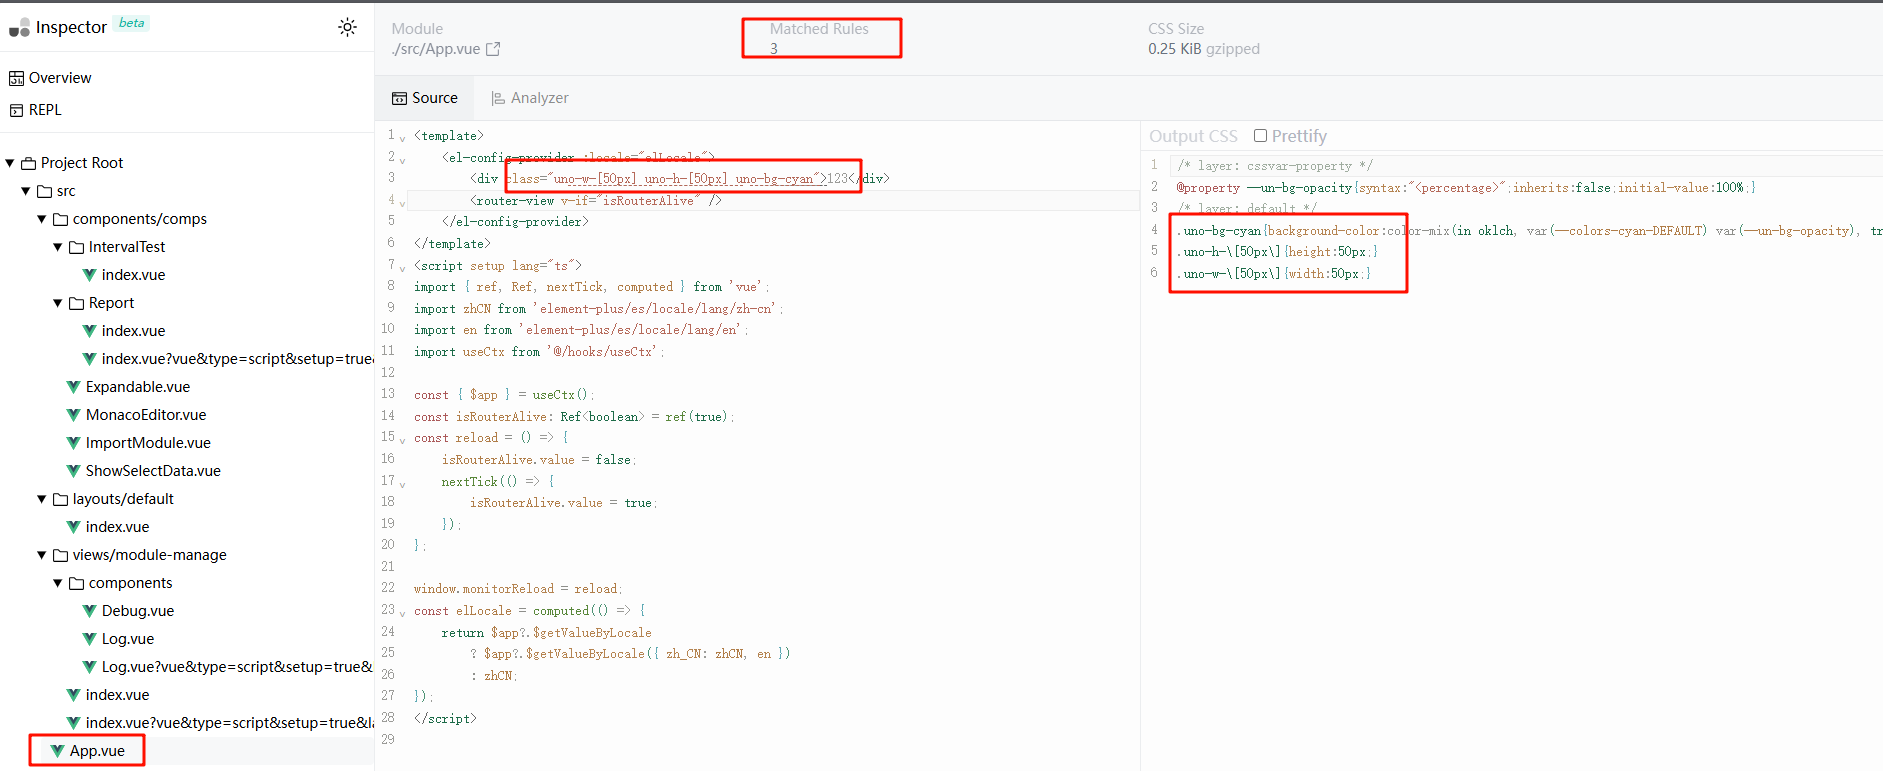
当不使用预设前缀时可以通过这种方法来排查是否有被unocss匹配到的类名,防止项目样式混乱
2、自定义规则
在 uno.config.ts 文件中
import { defineConfig } from 'unocss';
export default defineConfig({
rules: [
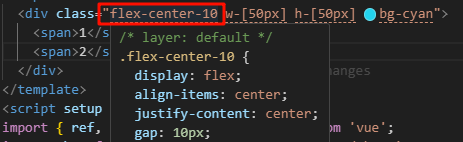
['flex-center', { display: 'flex', 'align-items': 'center', 'justify-content': 'center' }],
[/^flex-center-(\d+)$/, match => ({ display: 'flex', 'align-items': 'center', 'justify-content': 'center', gap: `${match[1]}px` })],
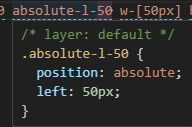
[
/^absolute-([lrtb]{1,4})-(\d+)$/,
([, directions, dis]) => {
const styles = {
position: "absolute",
};
const obj = {
l: "left",
r: "right",
t: "top",
b: "bottom",
};
for (const key in obj) {
if (directions.includes(key)) {
styles[obj[key]] = dis + "px";
}
}
return styles;
},
]
]
});
3、属性化预设
当使用unocss变得很长时,阅读和维护就变得非常困难。
<button
  class="bg-blue-400 hover:bg-blue-500 text-sm text-white font-mono font-light py-2 px-4 rounded border-2 border-blue-200 dark:bg-blue-500 dark:hover:bg-blue-600"
>
  Button
</button>
使用属性模式,可以将工具分成属性
<button
  bg="blue-400 hover:blue-500 dark:blue-500 dark:hover:blue-600"
  text="sm white"
  font="mono light"
  p="y-2 x-4"
  border="2 rounded blue-200"
>
  Button
</button>
例如,text-sm text-white 可以分组为 text="sm white",而无需重复相同的前缀。
使用
如果使用预设必须使用:迷你、Wind3、Wind4中的其中一个预设,官网未说明,否则会导致unocss不可使用
import { defineConfig, presetAttributify } from 'unocss';
import presetMini from '@unocss/preset-mini'
export default defineConfig({
  presets: [
    presetMini(),
    presetAttributify({ /* preset options */ }),
    // ...
  ]
});
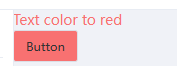
如果属性模式的名称与 elements或组件属性发生冲突,可以添加 un- 前缀以特定于 UnoCSS 的属性模式
<a un-text="red">Text color to red</a>
<br />
<el-button un-bg="red!">Button</el-button>
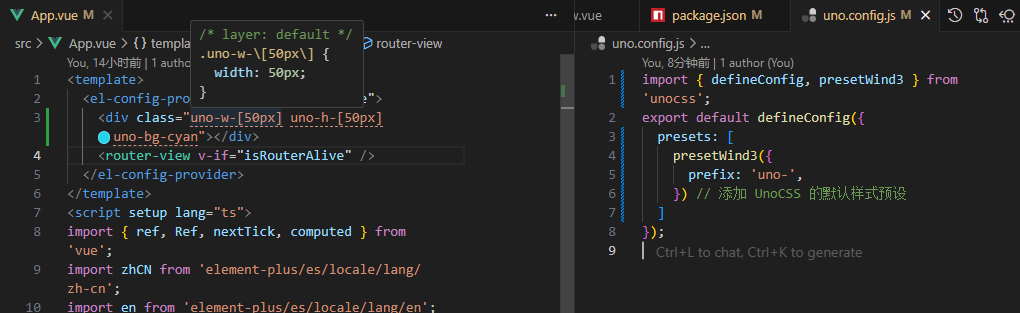
4、自定义前缀
是否添加样式前缀视项目class冲突情况设置,参考:unocss预设
import { defineConfig, presetWind3 } from 'unocss';
import presetWind4 from '@unocss/preset-wind4'
export default defineConfig({
  presets: [
    presetWind4({
      prefix: 'uno-',
    }) // 添加 UnoCSS 的默认样式预设
  ]
});
设置前缀预设后重启vscode
常见问题
1、当uno.config.js使用presets预设时,必须要使用基本预设,如:迷你、Wind3、Wind4
下面几个是会导致unocss失效的案例:
import { defineConfig, presetAttributify } from 'unocss';
export default defineConfig({
  presets: [
    //缺少基础预设
    presetAttributify({ /* preset options */ }),
    // ...
  ]
});
import { defineConfig } from 'unocss';
export default defineConfig({
  presets: [] // 只要写了presets就必须要有基础预设
});
2、设置预设或者rules没生效
重新加载窗口(Ctrl+Shift+p)搜索 Developer: Reload Window重新加载,并重新启动服务